
Diy Drawer Slides

Diy Wooden Drawer Slides Drawer Construction And Techniques Woodarchivist Com Wood Drawer Slides Wooden Diy Woodworking

Wooden Drawer Slides Wooden Drawers Drawer Slides Diy Woodworking Storage
How To Use Dowels As Drawer Slides Surprisingly Easy To Do Drawer Slides Built In Desk Diy Drawers
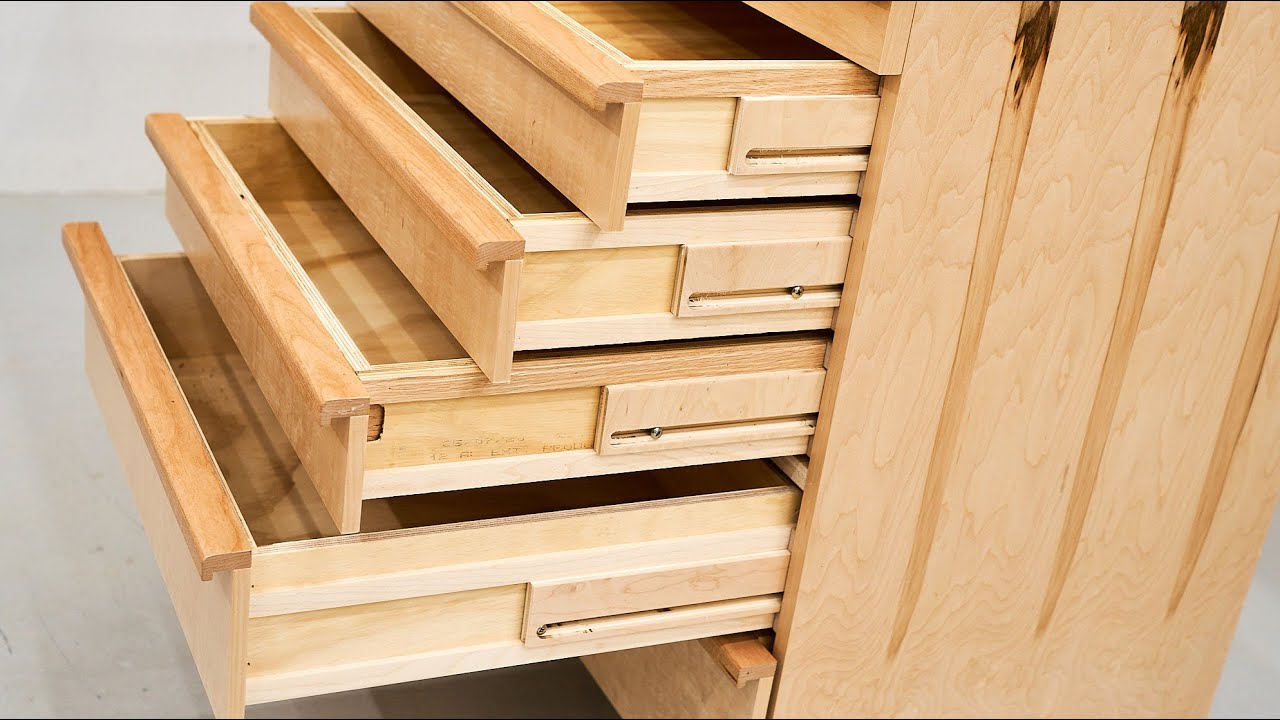
How To Make Wooden Full Extension Drawer Slides Woodworking Youtube Drawer Slides Diy Wood Drawer Slides Wooden Drawers

Furniture Making Tutorials 2 Solid Wood Drawer Slide Process Wood Drawer Slides Drawer Slides Diy Diy Drawers

Drawer Slide Jig Woodworking Woodworking Plans Woodworking Techniques
Replacing or installing new slides is a big decision so you want to make sure that you have the best.
Diy drawer slides. Look for full extension or over-travel to allow full access to the drawer contents. Close the drawer to where you want it to sit and mark the location of the slide. The next step is to treat the surface to make it glide more easily.
The runner above the drawer has to be close clearance to keep the drawer from tipping when open and even then you are limited to about 34 extension. Slide the plywood strips out and set the drawer on top of the strips. The most effective thing to do is to make sure that the drawers slide on hardwood.
Drawer slides allow you to open and close your cabinet drawers properly. 14 at top and 18 at bottom are feasible with proper alignment. I also recommend sealing any small cracks in the wood with some wood glue.
Side mount slides allow for maximum drawer depth and height as they are pushed in from the front. Place a strip of 14 plywood inside your drawer box against each side. For a perfect fit its best to fully install the drawer box and then position and attach the face.
A rub of candle wax paraffin keeps them sliding nicely and they last about as long as the roller ones. Due to these slides design they are generally limited use for keyboard trays or pencil drawers. Id start by applying it on the drawers slide only.
I used a tape measure to make sure the slides were level and an equal distance from the bottom of the sides. I know I made the steps sound hard and detailed but I promise I wasnt hard at all. If I was building drawer boxes for indoor furniture like my DIY Farmhouse Console Table or built-ins.

2841 Diy Wooden Drawer Slides Drawer Construction Wood Drawer Slides Wooden Drawers Wooden Diy

Wooden Drawer Slides Wooden Drawers Diy Furniture Drawer Slides Diy

Monster Heavy Duty Drawer Slide 1 Set For Workshop Or Heavy Duty Drawer Slides Drawer Slides Diy Drawer Slides

Drawer Slide Jig Diy Drawers Drawer Slides Diy Homemade Drawers

I Decided To Build Roller Bearing Slides Instead Of Commercially Available Slides This Should Provide Year Truck Bed Storage Truck Bed Slide Truck Bed Drawers

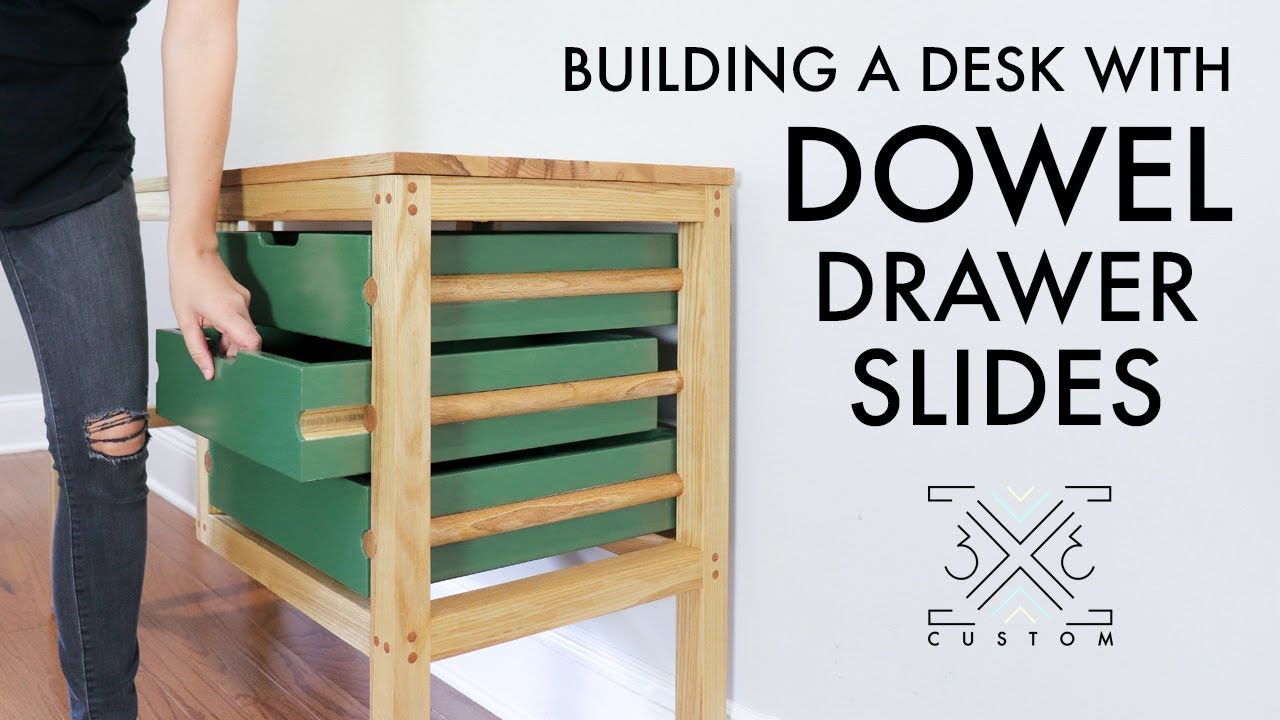
Building A Desk With Dowel Drawer Slides 3x3 Custom Woodworking Furniture Plans Woodworking Projects Diy Woodworking Box

Install Full Extension Drawer Slides Drawer Slides Diy Drawer Slides Wood Drawer Slides

Double Deck Drawers On Wooden Full Extension Slides Youtube Drawer Slides Diy Wood Drawer Slides Wooden Drawers

Build A Diy Bathroom Vanity Build Drawers Cabinet Doors Thrift Diving Blog 91 Diy Bathroom Vanity Diy Bathroom Furniture Diy Drawers

Easy No Glider Slide Drawers Diy Drawers Diy Kitchen Workbench With Drawers

Wooden Drawer Slides Wooden Drawers Drawer Slides Diy Wood Drawer Slides

Making Wooden Drawer Slides Drawer Construction And Techniques Woodarchivist Com Woodworking Plans Woodworking Techniques Wooden Drawers

Building A Desk With Dowel Drawer Slides Drawer Slides Diy Woodworking Furniture Plans Wood Drawer Slides
